The injection molding process stands as a cornerstone of modern manufacturing, enabling the mass production of precise and durable components across diverse industries. This highly efficient technique involves injecting molten material, typically plastic, into a mold cavity to create complex shapes with remarkable accuracy. From automotive parts to everyday consumer goods, injection molding offers unparalleled versatility, cost-effectiveness, and scalability. Understanding the process of injection moulding step by step is crucial for companies looking to leverage its advantages in terms of cost-effectiveness, scalability, and part quality.
What Are the Steps in the Injection Molding Process
The injection molding process helps manufacture parts using plastic, which may have different sizes, applications, and levels of complexity. The method uses equipment that consists of horizontal and vertical presses for injection molding.
The process melts the plastic resin, and it is transferred into the mold, which leads to its solidification, and hence the final injection molded parts are manufactured. The entire process consists of different stages, and the details of the step-by-step manufacturing process are discussed below:

1. Clamping
Clamping consists of attaching the injection molding machine to the clamping unit, and this unit then pushes the mold close to the cavities by exerting sufficient force. It holds the mold and moves it according to the instructions of the machine when the cavities are required to be filled up.
It is essential to assess the size of the molding press when you are opting for the clamp because it is the size of the modeling press on which the placement of the mold depends.
Setting up the clamp is essential to the entire injection molding process because it will make it perform the way it should.
2. Injecting the Resin
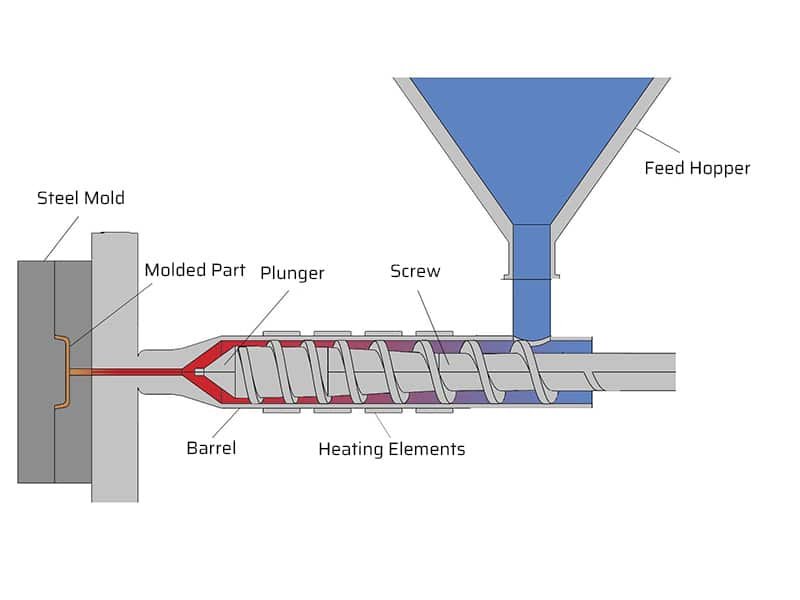
The process of feeding the raw material, which is plastic resin, into the injection molding press is the second stage. The raw plastic resin is melted after being heated and subjected to pressure. The injection unit takes the melted plastic, and the molten material is held in the mold cavity.
The temperature needs to be set accurately so that the melting process is smooth, and the nozzle, barrel, and injection mold temperature need to be set. The temperature will impact the flow of the plastics from the mold.
This temperature is very important and needs to be set very carefully, and it will impact the cooling down of the component and the flow of the liquid plastic. If the temperature is very high, the plastic may overflow, and if the temperature is low, the components may appear incomplete.
Pressure is another essential aspect of injection molding, and it consists of the physical force applied to the resin in the molten form by the screw head. The pressure is applied on the plastic as soon as the screw head moves forward. The automated system controls this entire process in the injection molding press.
Hence, temperature and pressure must be adjusted accordingly to ensure a stable injection molding process.
3. Cooling Stage
Once the process of pouring the molten plastic is carried out, the next stage is the stage of cooling. When the molten plastic comes into contact with the mold’s interior surface, the cooling starts to take place.
The mold remains intact until the cooling time has passed, and the relevant establishment of temperature plays an essential part in the cooling process as well. The layout of the component, the mold’s design, and the material used is also a factor that determines the cooling time, and the design of the mold is what incorporates internal cooling.
4. Removing Component from Mold
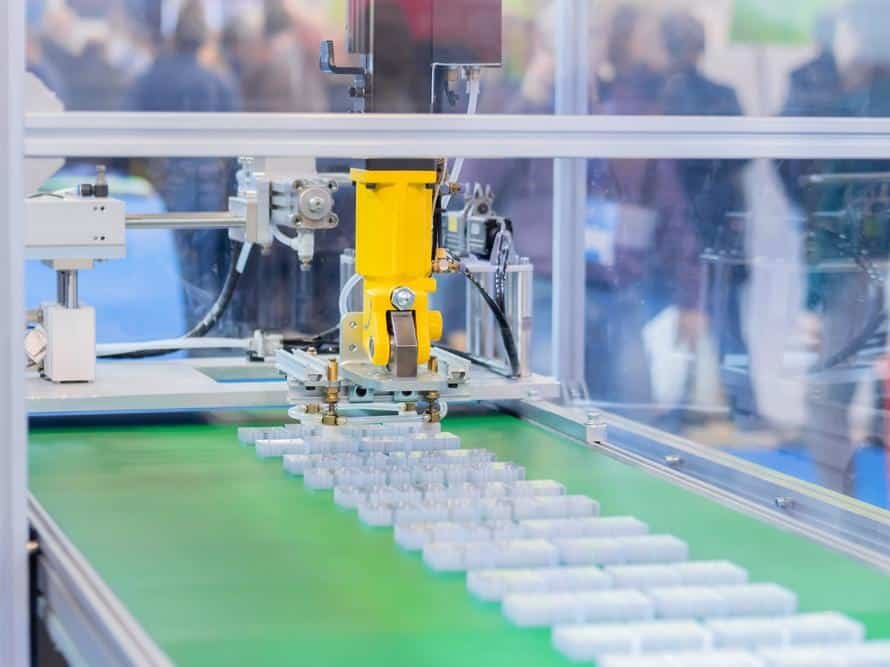
Once the cooling time has elapsed, the stage of ejection or removal of components takes place. The clamping unit opens the mold, and the ejection mechanism pushes the element out.
In the process of cooling, the component may shrink, and once the component has ejected out, the mold closes back again, and it becomes ready for starting the next cycle.
Pros and Cons of the Injection Molding Process
The injection molding process is very popular, and many products around us are manufactured using it. However, it has a combination of pros and cons, and these are as follows:
Pros of Injection Molding
The plastic injection molding process is known for its quick and efficient production; hence, it is equipped with a cost-efficient process because it is highly suitable for mass volume.
The injection molding process is also equipped with low wastage; it focuses on repeatability, and if there are any leftover plastic pieces, they are easily reused and recycled.
The entire process of injection molding is automated; hence, the labor cost is also reduced this way.
No matter how complex the component is, the injection molding process allows the creation of uniform parts with complex geometries.
The process is equipped with a lot of flexibility and can make injection molded parts using different colors of plastics.
Cons of Injection Molding
The initial setup costs of the injection molding process are high. The equipment is expensive, and the process of designing the molds and setting up the process also is costly.
The process of developing and approving the molds is lengthy; it takes months of planning and testing, which leads to mold creation.
It is suitable for small parts that need precision in manufacturing, and large parts are unsuitable for manufacturing using injection molding.
Conclusion
As you have gone through the injection molding processing guide above, you must now know the entire injection molding process and how important every stage is. If you have any questions or concerns, you can contact Erye custom manufacturing service freely!


